

Upcycling, vintage, second hand ... if there is a place where "do it yourself" seems to be demanding a change, it’s the wardrobe. No fashion degree necessary.
Upcycling, vintage, second hand ... if there is a place where "do it yourself" seems to be demanding a change, it’s the wardrobe. No fashion degree necessary.
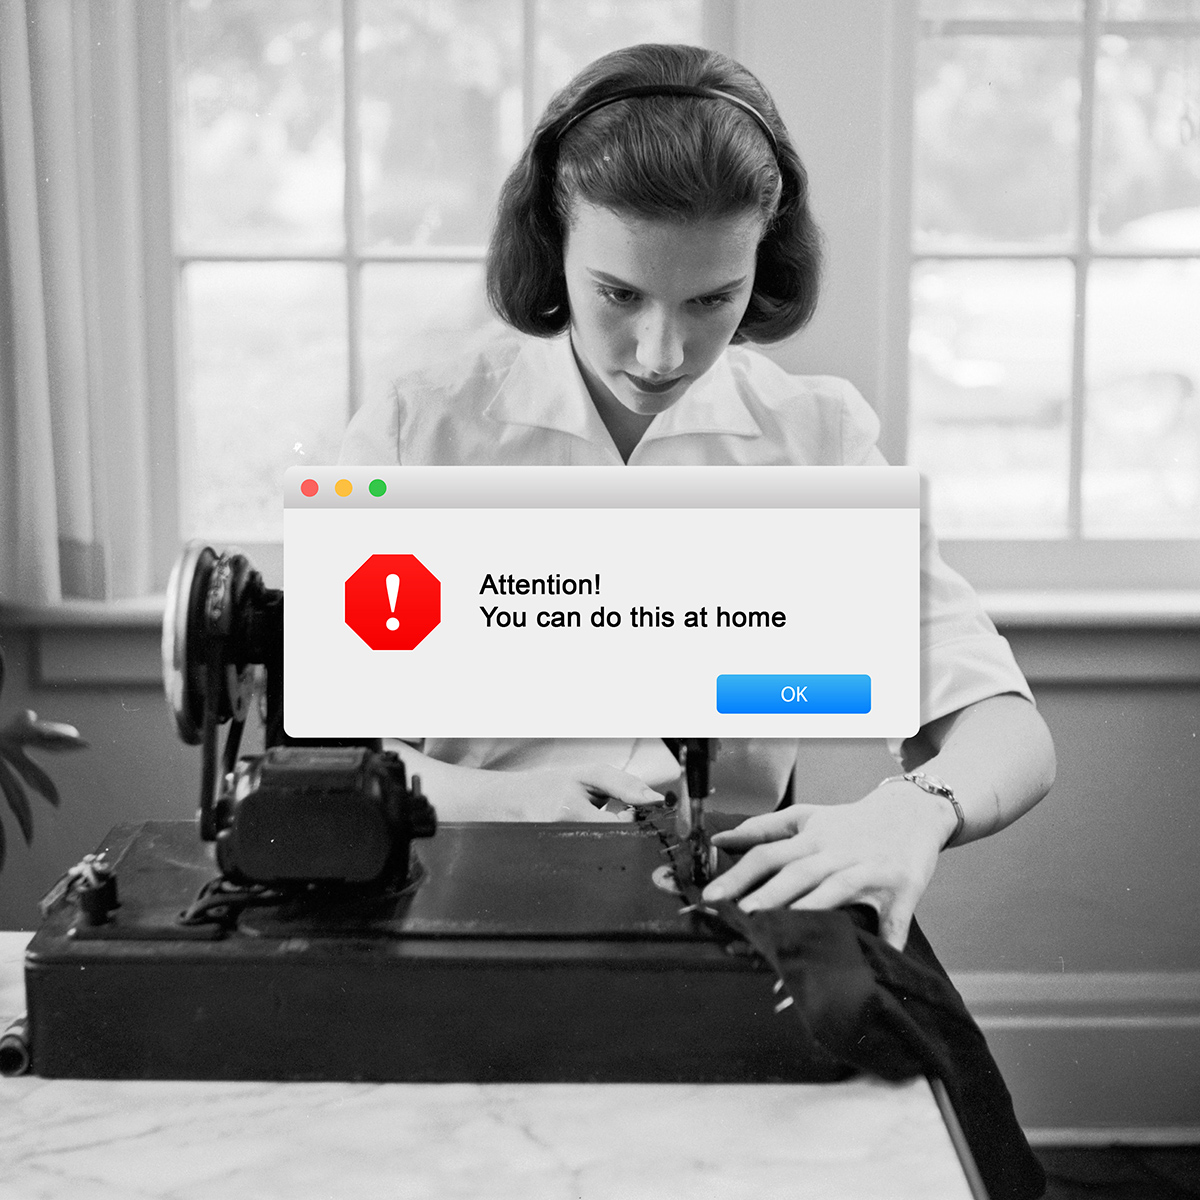
But it is necessary to have some imagination, creativity and, well, authorization to work with scissors, needle and thread. Extend the life of the garment before expanding it en masse and, at the same time, satisfy that impulse to have a new garment without consuming unnecessarily - in this do it yourself you can find the perfect match. Whether to contribute to the cause of sustainability, to give new life to dated pieces or simply to have a creative outlet. We do not guarantee that after these “recipes” you will create a new brand - in fact, we even discouraged you from using these tips, good but sparse, as a barometer for a new business -, but we assure you that it is undoubtedly a good way to keep the creativity in shape.
Scrunchie
No one would believe it if they had not arrived in the 21st century to see for themselves, but the return of that hair accessory that was on the wrists of all young women in the 80s and 90s is a reality three decades later. You do not need to browse the stores to pick up a copy of that classic. Most likely, you will have at home everything you need to make you reborn with your own hands.
Ingredients:
Fabric of choice (cotton is the easiest to work with)
Measuring tape
Scissors
Pins
Baby pin
18 cm of elastic about 1.5 cm wide Needle and thread
Preparation:
Cut an 8 cm x 30 cm strip of fabric and fold it in half, inside out, lengthwise. Mark a line in the center, along the strip, with pins, to hold the shape. Sew the strip, joining it so that there is a kind of tube, open at the ends. Remove the pins and turn the strip of fabric to be on the right side. With the help of the nurse pin, insert the elastic into the fabric “tube” and sew the two ends of the elastic to form a circle. Do the same with the fabric, being careful to roll the hem inward for a perfect finish. Use on hair or wrist, nineties style.
Tie-dye
What do you mean, you haven't done a tie-dye yet? That is, besides something you might have done in class when you were a kid? The summer of 2020 didn't seem to ask for anything else... But even if you tried it, there are several ways to create tie-dye patterns to avoid repetition. The possibilities are endless.
Ingredients:
One piece to dye (shirt, t-shirt, socks...)
Office or cord elastics
Tie-dye paints
Gloves (to be able to touch the paint)
Preparation:
Twist and wrap the chosen piece in the shape you want (you can wrap it whole or twist just small parts) and place the elastics or fasten different areas with a string. These parts with elastic or string are the circles that you will see in white in the final piece. Then, put the piece in warm water for about 20 minutes to prepare the fibers for the paint (you can put a little soap or a specific product for dyeing pieces in the water). With the gloves on, distribute the paint (or paints, if you have chosen more than one color) across the piece, but be sure to follow the paint instructions to prepare the product before using it, as there are paints that they need to be diluted (if you want the piece to have a darker tone, the ideal is to put it in an ink bath - the longer it stays, the darker the result). After applying the color, or colors, wrap in cling film and set aside - ideally six to eight hours, or up to 12 hours. Finally, rinse the piece in cold water until the water runs clear and place it in the washing machine (alone, without any more pieces) in a cold water cycle. Keep the elastic bands, preferably, so as not to "stain" the white areas. The first few times, after using, it is also advisable to wash by hand to ensure that it does not fade.
Napperon collar
There is a generation that has inherited a reserve of napperons capable of rivaling a small country's wealth stock. And as much as I may even be part of the fan club for these kitsch and vintage copies, there is a time when there is no more space for another crochet base - the backrest of the sofa is simply not an option. It's time. The time has come to free that drawer and give a new life to the work of your grandmother, aunt, mother... or even yours. In between, you will also be helping other parts of your wardrobe.
Ingredients:
1 piece of clothing to customize (a cardigan, a sweater or even a blouse that you want to replace the collar, if you have the sewing dexterity for this surgery to remove the previous one)
1 napperon (the size depends on whether you want a smaller and simpler collar for a classic effect, or extra wide, for a statement result).
Scissors
Pins
Needle and thread
Preparation:
Cut the napperon in half, in order to have two identical halves. Arrange each half on the collar of the piece you chose, with the round part out, and fold about one to two centimeters from the cut area into the collar of the piece (remember that the cut you made was straight and the collar is rounded, so it is normal for a crochet area to be wider, inside; if you prefer, you can cut rounded to match the curvature of the collar). When you are happy with the napperon positioning on both sides, lift them up and use pins to mark and hold the inside of the collar along the collar. With the thread and needle, finally sew the napperon to the piece and remove the pins. The good thing about this tip is that you don't need to stop here: you can use more than one and make an overlap of collars in the same piece; or you can also use the crochet in other areas and pieces, such as the hem of a skirt or sweater. Just add creativity to the list of ingredients.
PS: if you are afraid that the napperon will shrink when washing, you can wash it before this process or wash the piece carefully by hand, afterwards.
Glasses with pearls
A good opportunity to get those sunglasses you bought on impulse out of the closet and actually start wearing them. With a little glue and a few adornments, it is possible that, after this, you want to create a whole spring / summer collection with a multitude of ornaments. But let's start with the pearls. Did someone say Chanel?
Ingredients:
Bulk sunglasses (the bigger the frame, the more space to make sure the pearls stick together)
Pearls (fake - do we really need to say it?)
Glue for acetate fiber
Preparation:
Looking at the list of ingredients you can get the process immediately - there is not much to deceive. Glue the pearls to the frame of the glasses: in a semicircle at the top or at the base, completely covering the lens, the rods - the possibilities are as many as your imagination allows. And whoever says pearls, says any other element that can be glued on these accessories - shells, massive flowers, sequins, whatever you want (a friend doesn't judge). It is only necessary to be aware that everything you add increases the weight of the glasses, so make sure that your use remains comfortable after your intervention.
Buttons necklace
There is a place where the mismatched socks go, that no one knows where it is. It might be the same where all the buttons that your coats have lost over the years go, had you not had the vision of keeping them in a jewelry box. But even if you haven't done so, you can always check out a haberdashery or second-hand markets - many have beautiful buttons, which can gain a new use in this necklace.
Ingredients:
Selection of vintage buttons
hot glue
Needle and thread
Waxed cotton chain or thread Cloth in cotton felt
Preparation:
Arrange the buttons on the felt cloth, tightly together, in order to create a half moon. It is this cluster that will stay on your chest, so keep that goal in mind when distributing the buttons. Once you are satisfied with the final arrangement, stick each button in the place you have designated and cut out the excess felt. If you can, reinforce the buttons by sewing them on the felt base. With a needle and thread, sew the chain to each corner of the felt, with enough size to be able to pass through the head or, if you prefer, sew two chains with a metal clasp to create a shorter necklace. If you use a waxed cotton thread, make a small hole in the corners of the piece so that you can pass the thread from side to side or simply tie it with a knot in each corner.
Extra pocket in a t-shirt or top
The evolution of mankind has perfected the human hand, but not as sharply as in women: over the years, we have learned to balance, between our fingers, a clutch, smartphone, lipstick, a ticket to the cinema / art exhibition / theater, Benfica-Sporting football game, etc., a glass of wine or cocktail and also the wallet that the boyfriend / husband / friend asked us to hold while he was just going somewhere to do god knows what. All at once. Darwin would call this the survival of the fittest, which is the survival of the strongest and the most adaptable. What do they adapt to? To the environment? The cities? Climate change? No: the fact that womenswear is so meager in pockets. This DIY that adds a pocket, or several, to a t-shirt or blouse does not work miracles, but it does help.
Ingredients:
Cotton fabric (preferably) to choose - can be printed, plain, denim ...
T-shirt or blouse to customize
Scissors
Needle and thread
Preparation:
On top of a work area, arrange the garment to be customized. Choose the place where you want to place the pocket and measure the size you prefer for the area. Cut, according to these measurements, a more or less elongated semicircle (more rounded or more angular, like the back pocket of some jeans), making sure to leave extra fabric for a hem around. Sew the pocket to the t-shirt or blouse in the designated place, leaving the top open, folding slightly all the way around and placing the edge inward, so as not to have a frayed perimeter. It may not fit here everything that balances in the hands, but at least a blush, tickets, a card - citizen, credit, visit - will free up space between your fingers.
Mantras on shirts
It's not worth keeping everything you want to say to yourself - and sharing phrases in Instagram captions is too Pinterest'2018. Put it on a shirt. On the chest, on the back, on the sleeve, wherever you want, and avoid quotes by Osho or the Dalai Lama, if you can - if you are to be creative, think of the catch-phrase you want to leave to the world and print it, black on white.
Ingredients:
White shirt
Pens for writing on fabric
Ruler with letters to outline
Pencil or pen for sketching
Preparation:
Decide the area of the piece where you want to make the intervention on and stretch over a work area. With the letter ruler and a washable pencil or pen, sketch the expression, phrase or word you chose. When you are satisfied with the arrangement of the letters, use the fabric pen to make the intervention permanent.
Patchwork
This is called DIY-everything-works: if you have accumulated denim jackets over the years and no longer distinguishes them from each other, this is the time to have fun with one of them, adding surplus fabric or adhesive decals and embroidered patches. Patchwork is a kind of rag doll from adult life: it looks - and is - a homemade product, but its kitsch and handcrafted side is adored.
Ingredients:
Denim jacket that you no longer wear
Selection of fabrics of your choice
Embroidered patches or stickers (optional)
Scissors
Needle and thread
Iron
Preparation:
Arrange the fabric’s remains as and where you like best, overlapping them even, and adapting the sizes as you prefer, over the piece, mixing prints and patterns. You can also add embroidered patches if you want. You can do it in the whole piece, just in one area or simply as a detail. When you are satisfied, sew the “patches” to the piece (in the case of patches, you can use the iron first, as a rule they have an adhesive bed, remembering to place a cloth between the iron and the embroidery, just in case).
Most popular
.jpg)
Zendaya fala sobre beleza, nostalgia e a única tendência de wellness que não está disposta a experimentar
29 Jul 2026
O que lhe reservam os astros para a semana de 28 de julho a 3 de agosto
28 Jul 2026
.jpg)
Relacionados

Zendaya fala sobre beleza, nostalgia e a única tendência de wellness que não está disposta a experimentar
29 Jul 2026
.jpg)